Appearance
Node Inspector
The Node Inspector tab shows information about the currently selected node, allowing you to edit and inspect it.
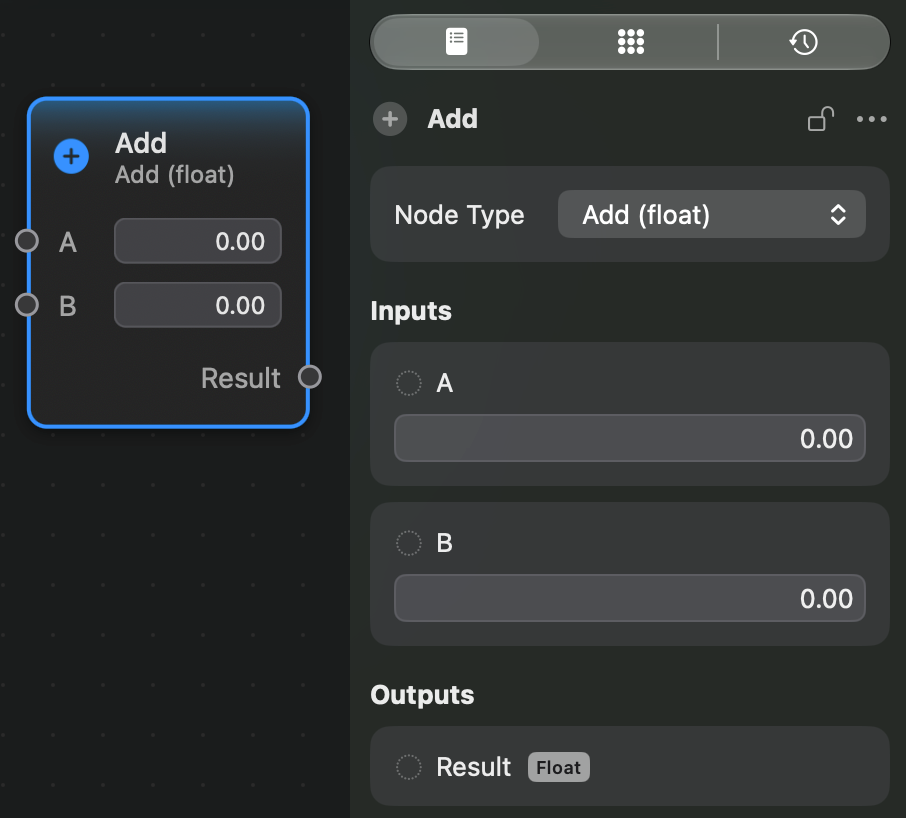
The first section of a node's inspector is the header section:
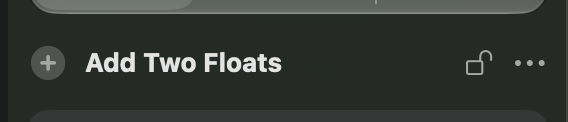
It contains:
- The node's icon.
- The node's title field, which is an editable text field you can use to rename the node.

- The lock button, which, when enabled, locks the inspector the current node, so that even if you deselect it, the inspector will keep showing the same node.
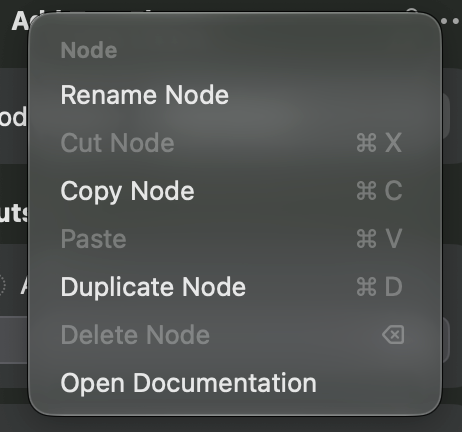
- The ellipsis at the end will open the node's context menu when clicked.

Next, there is the Node Type block. It shows the type of the current node, and, if the node is generic and allows multiple types, you can select which type you want via the dropdown menu.
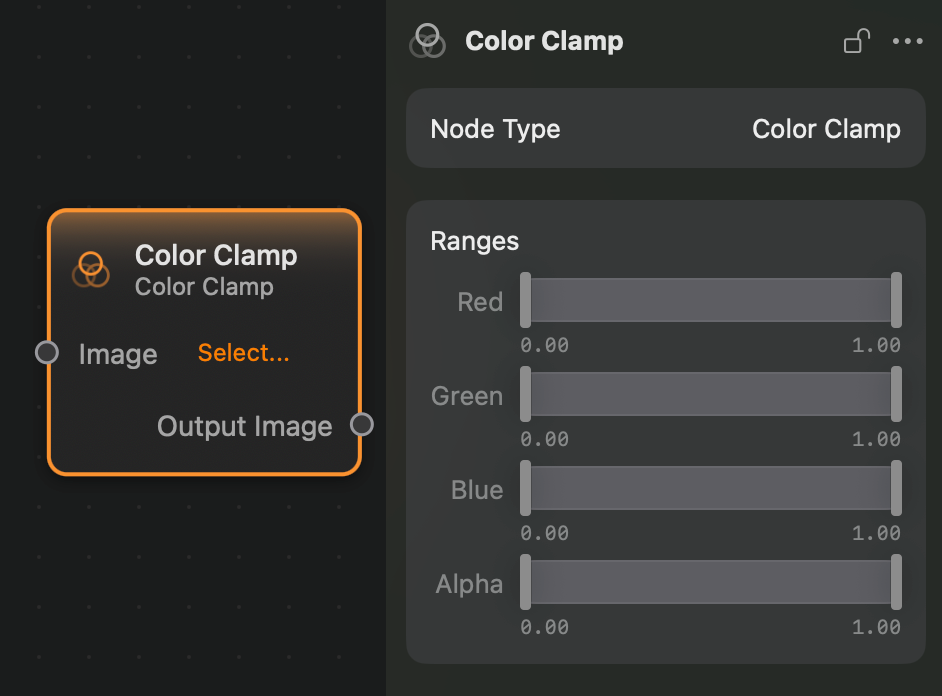
Some nodes have special controls which are not configured as node inputs, and appear only in the inspector. They appear after the Node Type block. As an example, the Color Clamp node has an inspector-only control called Ranges:
After this optional control, comes the Inputs block. This will list every input of the node. Each input will have controls that you can use to edit and inspect the input's value.
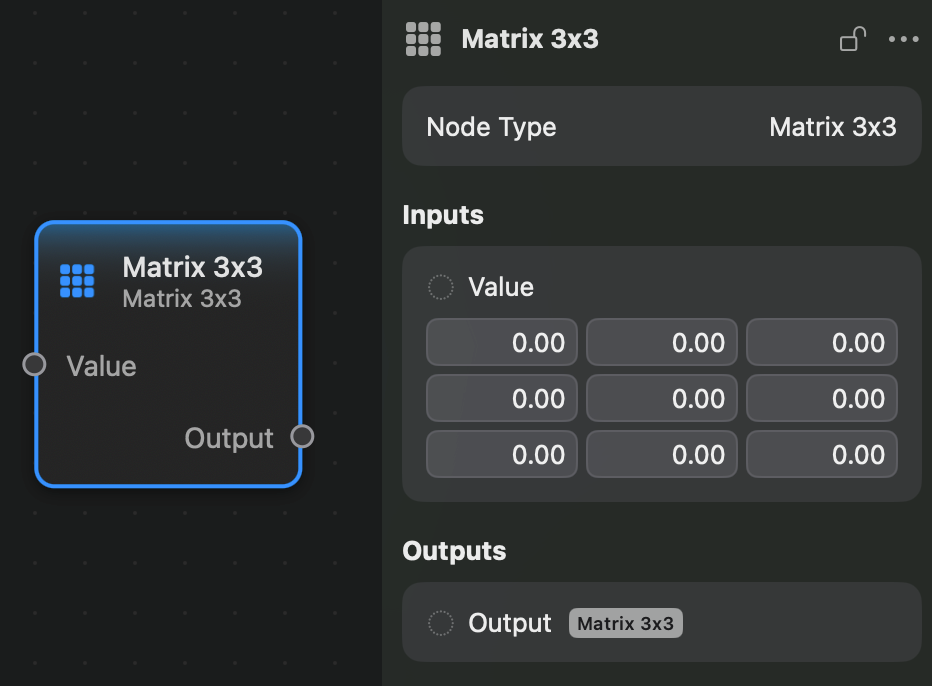
Some inputs which have complex controls will only show them in the inspector. Such is the case for matrix inputs:
Each input entry has some common elements in its first row:
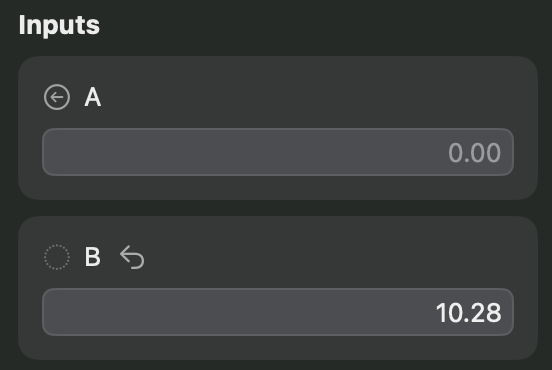

First we have the port button. When the input's port is not connected, this will be a dotted circle which does nothing when you click on it. When it is connected, it will show a circle with an arrow. Clicking on it will select the node that is connected to the input's port. Next to this we have the input's name. And, after that, if the input's value is different from the original, a button with an arrow curved backwards appears. Clicking on this button will restore the input's value to the original value.
After the inputs block, comes the Options block. Not all nodes have this block. It contains lightweight settings for the node. For instance, most blur nodes have a "Crop to Source" option, which configures if the blur can or cannot produce an image that is larger than the original image:
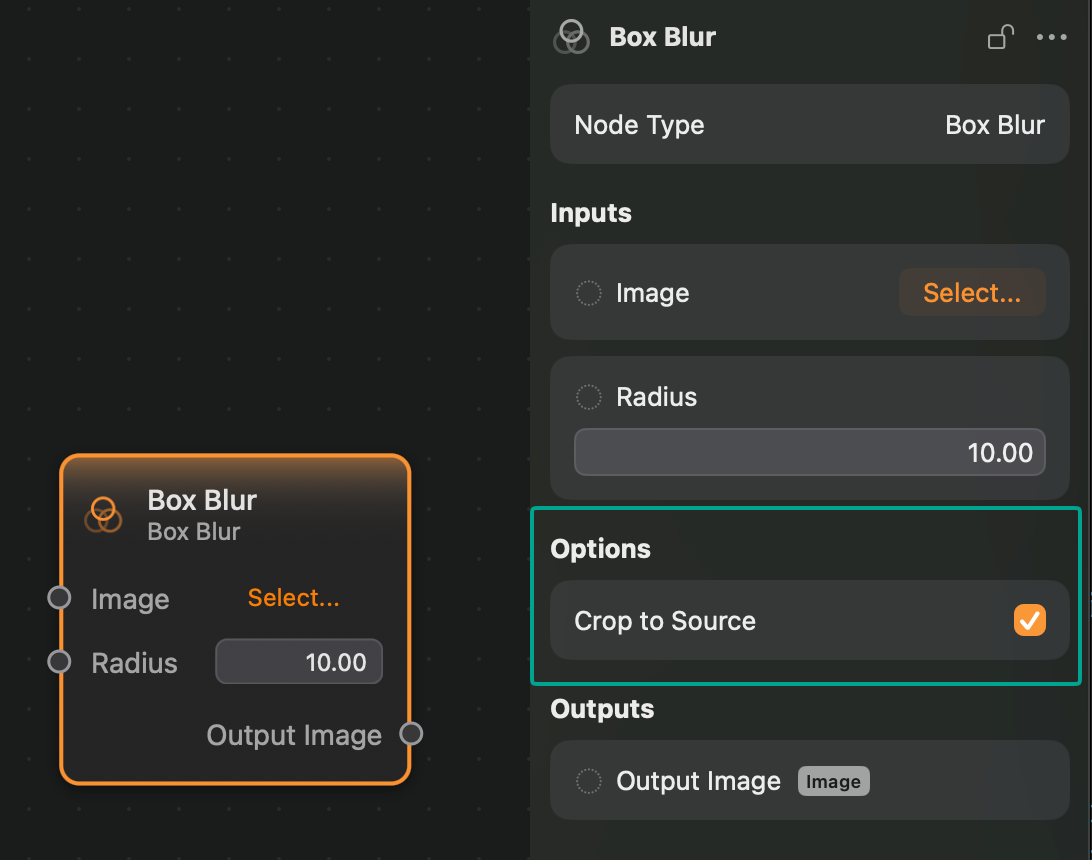
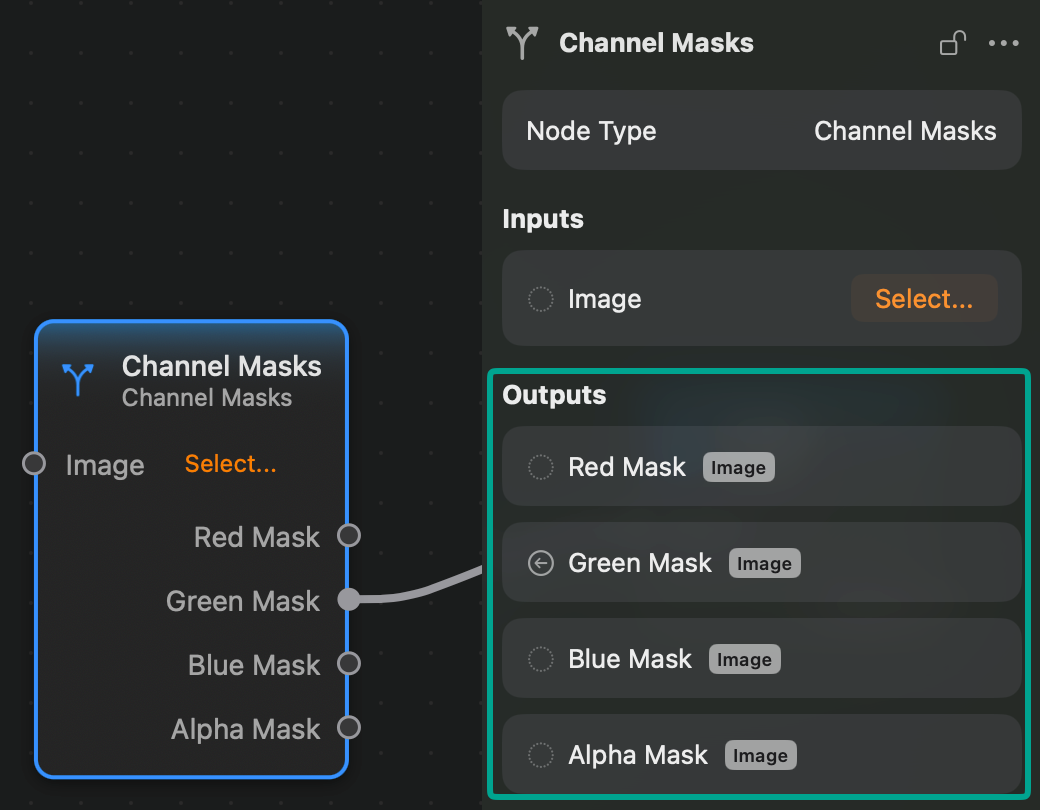
The last component of the node's inspector is the Outputs block. It lists all the node's outputs, showing: a port button, just like the inputs have; the output's name; and the type of the output: